KAPELLI CLASSIC INSTALLATION INSTRUCTIONS


The specialists of our company have prepared detailed instructions for the installation of the KAPELLI-classic doors. They will be useful both for professionals and those who decide to install the door through own individual effort.
ATTENTION!!
Only strict observance of the KAPELLI door installation instructions guarantees the quality and durability of its operation.
1. PREPARATION FOR THE DOOR INSTALLATION
1. PLEASE CHECK THE PRODUCT COMPLETENESS.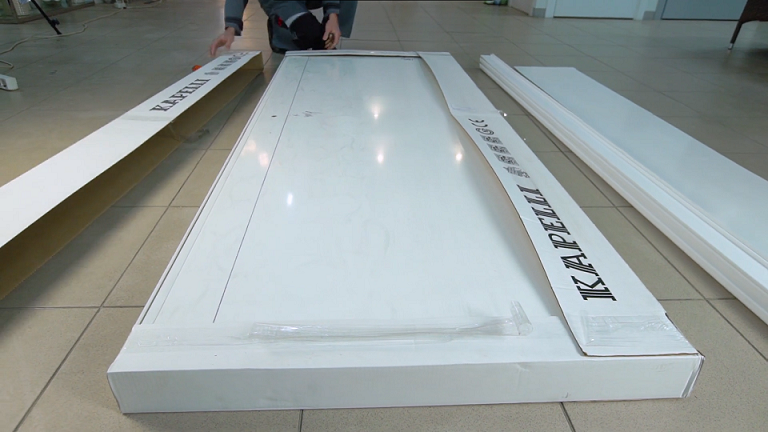
A door set is delivered in the factory package. The door designation on the package is made in accordance with the requirements of GOST 6629-88 and contains information on the door type, doorway height and width, door color and model name.
2. THE KAPELLI DOOR SET CONSISTS OF THE FOLLOWING ACCESSORIES::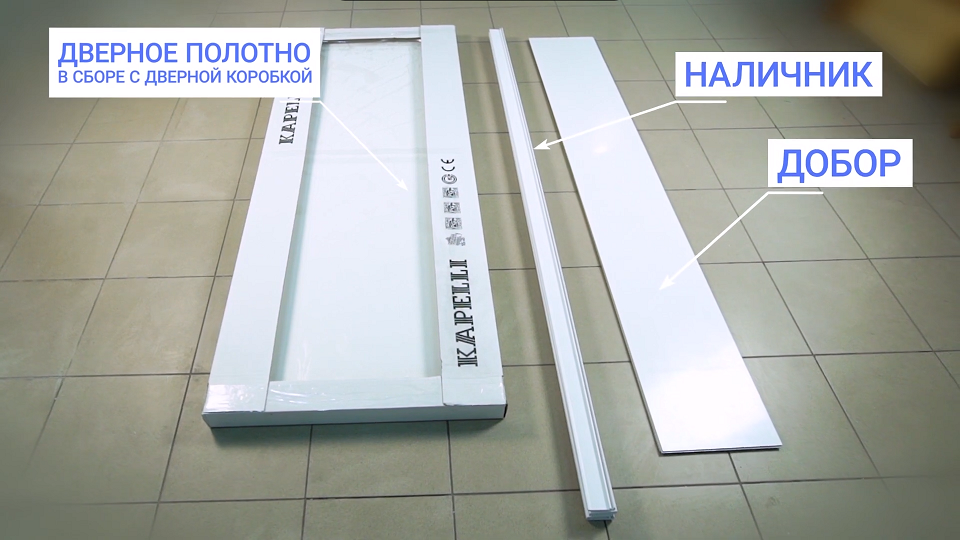
-
The door leaf assembly with the door frame (with a rubber sealant along the frame perimeter).
The door leaf is covered with protective film which is removed after installation.
In order to facilitate the installation, the leaf is supplied complete with the door frame and a pre-made hole for the handle and a pocket for the lock mechanism.
The furniture is packed in cardboard boxes of manufacturers of these products. The boxes are fixed at the door leaf bottom.
2. TOOLS AND CONSUMABLES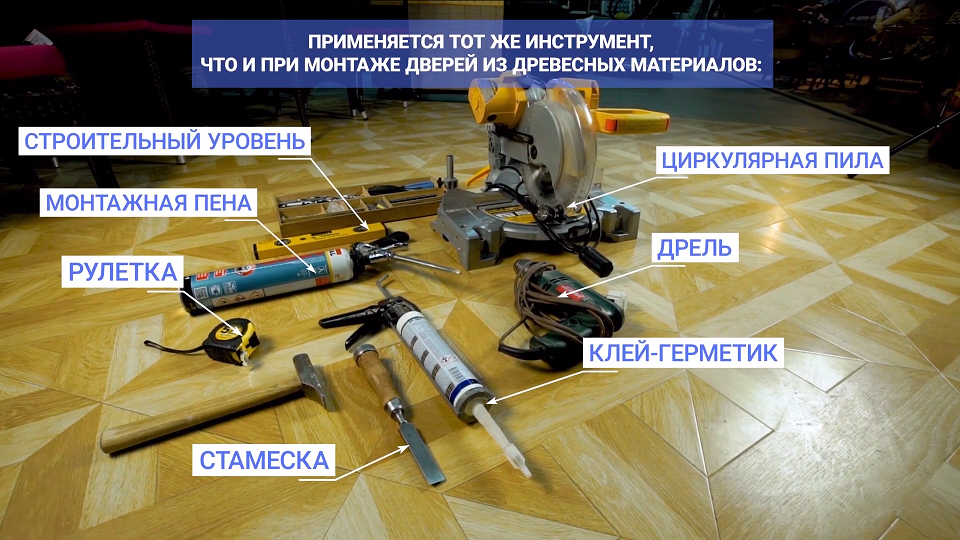
When installing the KAPELLI door, the same tool is used as when installing doors made of traditional wood materials. You will need the following tools and consumables:
- Construction foam, assuming 1 flask for 2-3 door units
- Wooden wedges and spreads (a bar with a section of 40 × 40, 40 × 30, 40 × 25 can be used a spread)
- Adhesive sealant or fastening gun for fixing the platband
- Builder's level or nivelling plummet
- Screw driving machine or screwdriver
- Panel saw (miter box for miter cutting) or mitter saw
- Hand clamp (in case of platband fastening with glue sealant)
- Drill with perforation function
- Set of boring bits (including ones for perforation and for drilling large holes)
- Knife
- Pencil
3.DOOR LEAF PREPARATION INSTALLING THE HINGES. 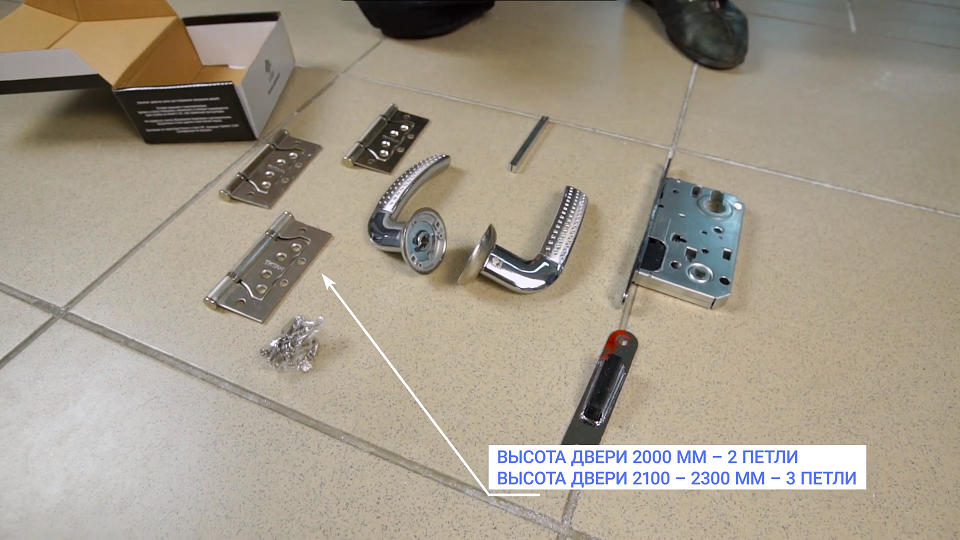
Decide in advance the direction of the door opening.
Note : After the hinges installation, it will be impossible to correct the error, since when fixing the hinge with self-tapping screws, the integrity of the door leaf and the frame profile are violated.
It is not allowed using any other hinges, except for surface ones recommended by the manufacturer.
When installing the KAPELLI Connect and KAPELLI Classic door units with glazed panels, the use of 3 surface hinges is recommended. In this case, two hinges are installed in the upper part of the leaf, and one in the bottom.
The hinges are installed at a distance of 200 mm from the edge of the door leaf.The hinges recommended by the manufacturer are surface, their installation is carried out without cutting into the door leaf and door frame.
ATTENTION!
A technical clearance of 2 mm is required between the edge of the door frame and the hinge cylinder.
4. INSTALLING THE FRAME IN THE DOORWAY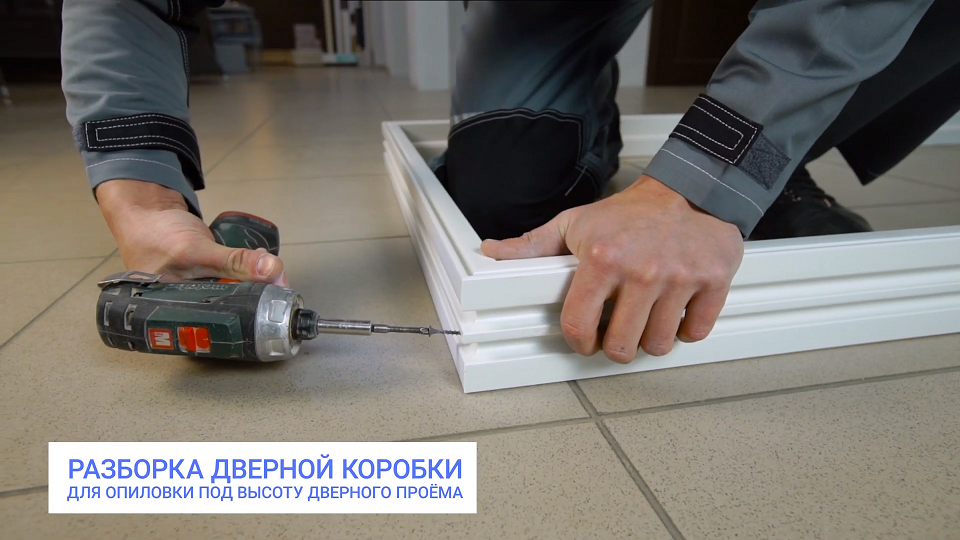
Measure the doorway width and height.Measure the required distance on the frame.
Trim the frame in height.
5. INSTALLING THE LOCK MECHANISM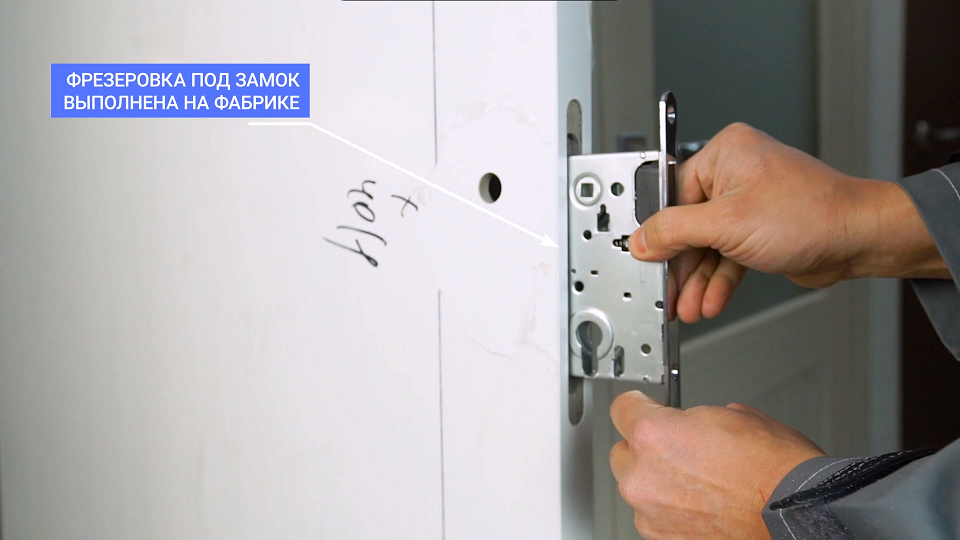
The installation of the lock mechanism recommended by the manufacturer is made in a special factory-made groove.The leaf is supplied with a mounting hole for handle installation (the distance from the bottom of the door leaf to the handle hole is 1050 mm).
The hole for the cylinder is done by own forces. For this, mark the front part of the leaf according to the dimensions of the lock center distances (see figure). The lock mechanism is fastened with the screws which are included in the set in the amount of 2 pcs.
The lock mechanism can be operated with two types of key cylinders: “Key-key” and “key-lock”. Once installed in the lock, the cylinder is fixed with the provided screw.
Handle, cylinder, cylinder cover are not included in the KIT of the KAPELLI door and are purchased separately.
Installation of these fittings is carried out according to the instructions that they are equipped with.
ATTENTION!
The self-made cutting of the door leaf in width and height is not allowed, as it violates the tightness and structural strength of the door leaf.
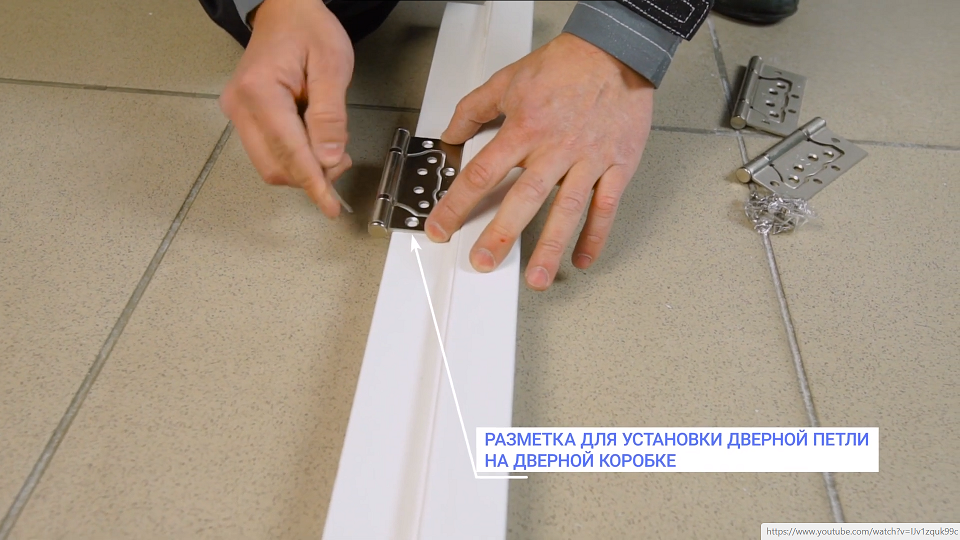
6. MARKING THE HINGES ON THE DOOR FRAME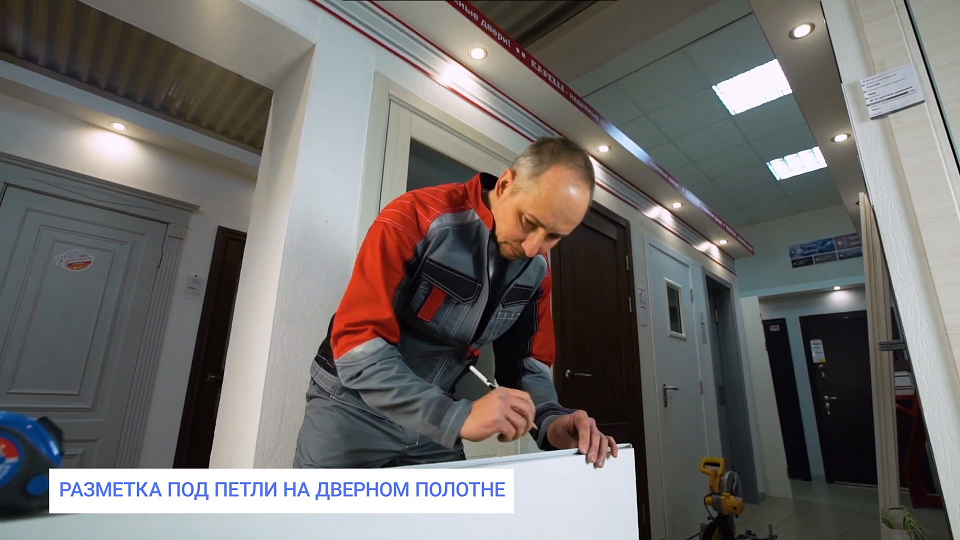
To install the hinges, measure 203 mm from the top and 200 mm plus the planned clearance between the door leaf and the floor surface at the bottom of the door frame.
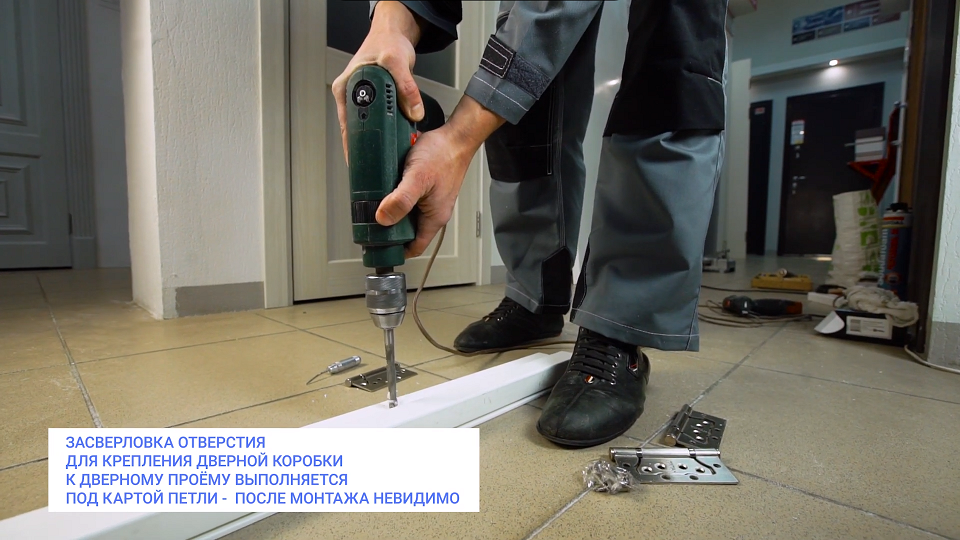
7. INSTALLING A DOOR UNIT IN THE WALL OPENING
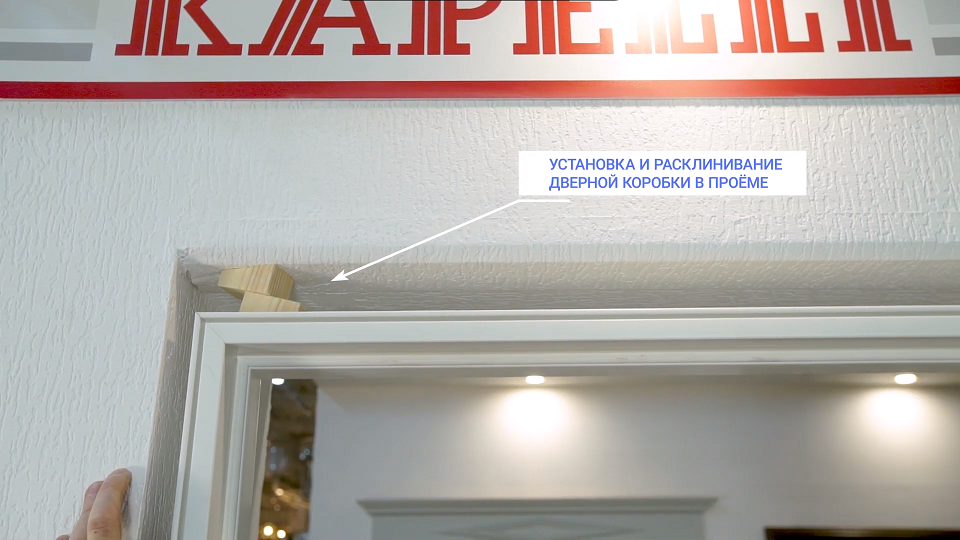
Install the door unit into the opening and fix it with wooden wedges to make it restrained.
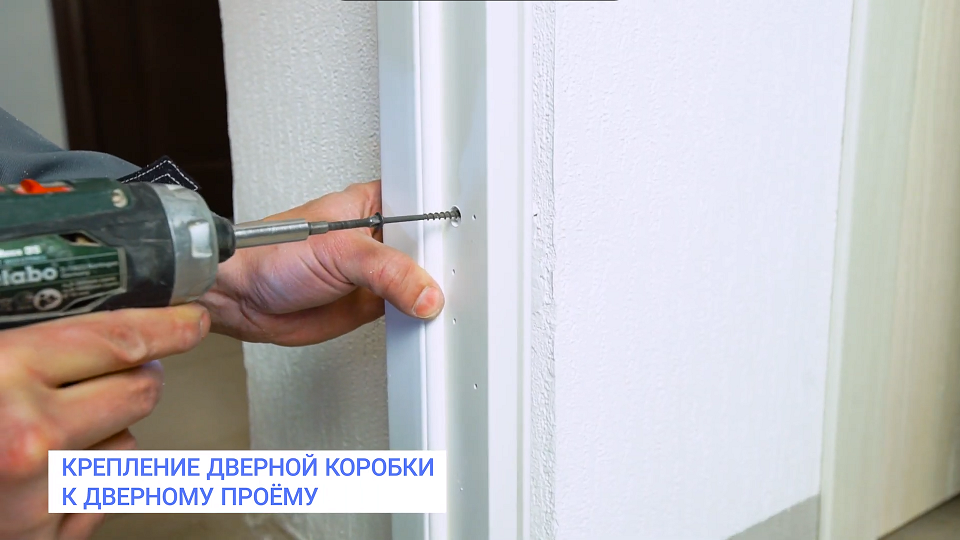
After checking the correct installation of the unit in the opening, it is necessary to drill mounting holes and fasten the door frame to the surface of the opening with anchor bolts.
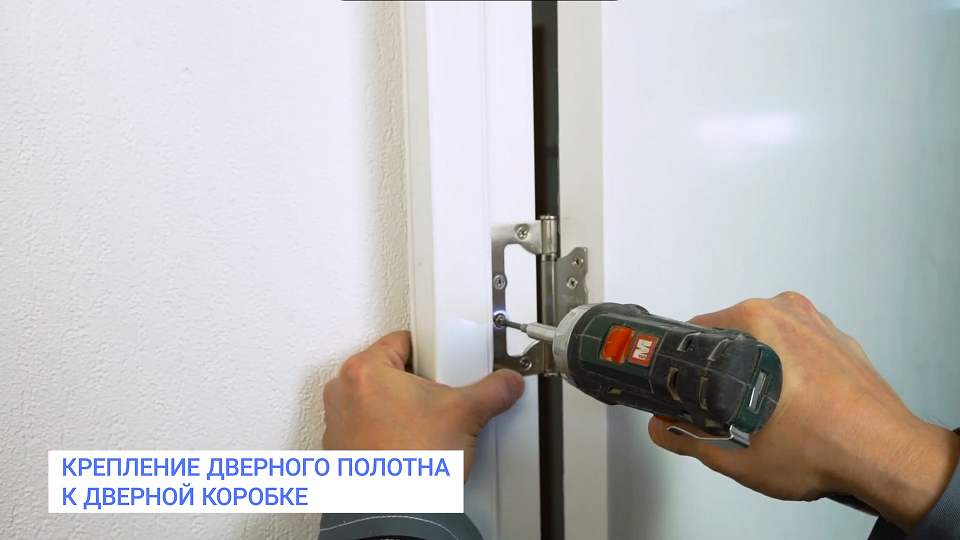
The door frame in the installation opening should be fixed rigidly with four anchors to each vertical stand, strictly maintaining verticality in level, eliminating the possibility of any movement of the frame profile.

ATTENTION!
When fixing the door unit in the wall opening with anchor bolts, do not allow the frame elements to bend.
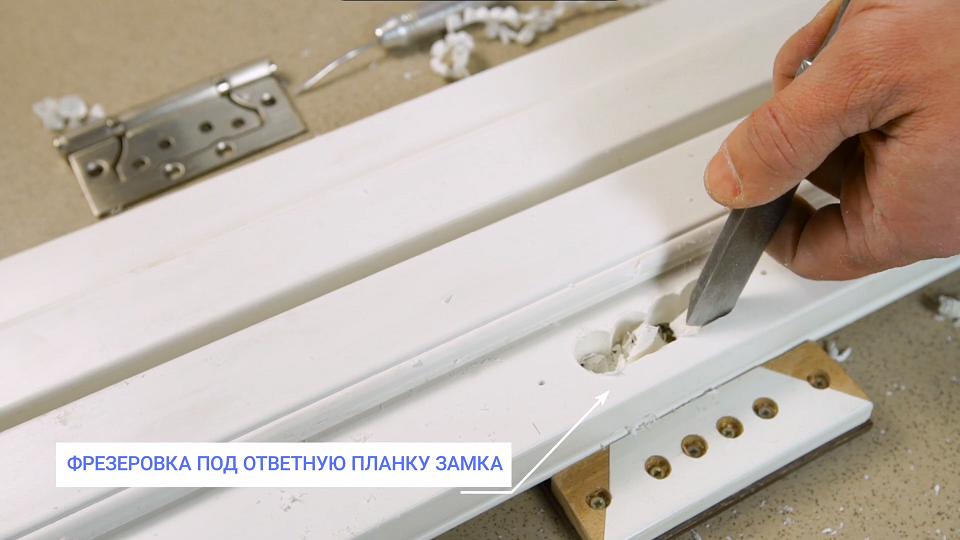
8. INSTALLING THE STRIKING PLATE
In accordance with the installed lock, it is necessary to mark the vertical stand of the door frame and install the striking plate.
To install the striking plate, mill the holes under it in accordance with the made marks.
The striking plate is attached to the vertical stand of the frame with the screws which are included in the set in the amount of 2 pcs.
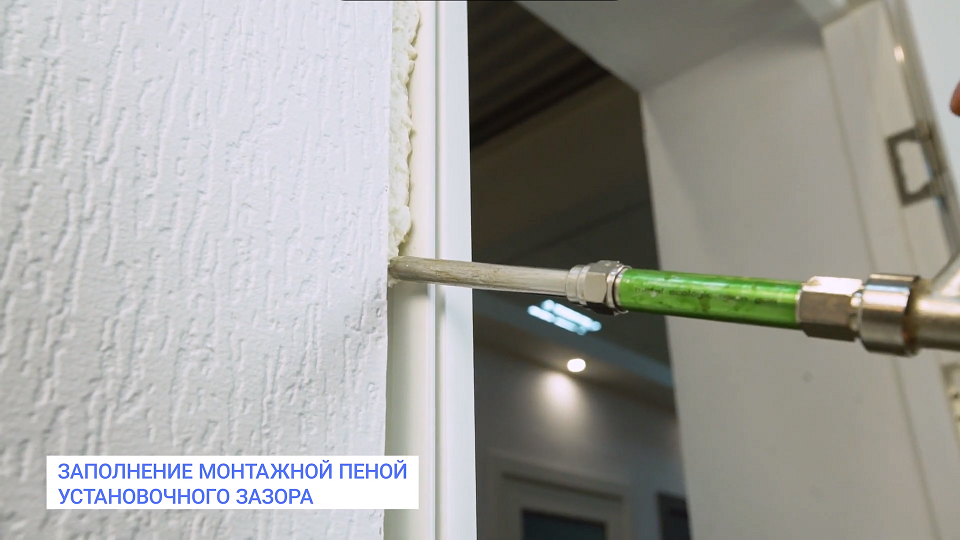
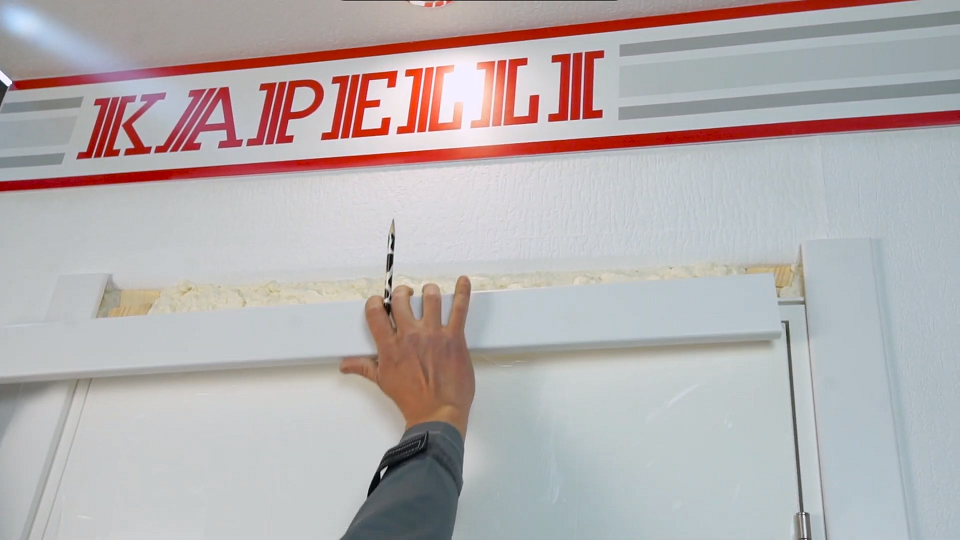
Upon completion of the door unit installation, fill the installation gap between the unit and the wall with construction foam.
In order to ensure high-quality adhesion of the construction foam, it is recommended to spray the internal cavity of the installation gap with water.The construction foam is applied around the entire perimeter of the opening with an even layer to a depth of ~ 40 mm.
The level of foam expansion and the time of complete hardening depend on the foam type and are indicated on the package.
ATTENTION!
When filling the installation gap with foam, it is necessary to take into account the secondary expansion and carefully monitor the amount of foam sprayed into the gap. In order to exclude the penetration of construction foam on the door frame, the frame planes being in contact with the foam should be covered with painter’s tape.
After complete drying, cut protruding remainders of foam with a knife.
ATTENTION!
The platband elements are installed with an offset of 5mm from the door frame edge. The platband installation should begin from the side of the door that opens to you.
9. INSTALLING THE PLATBAND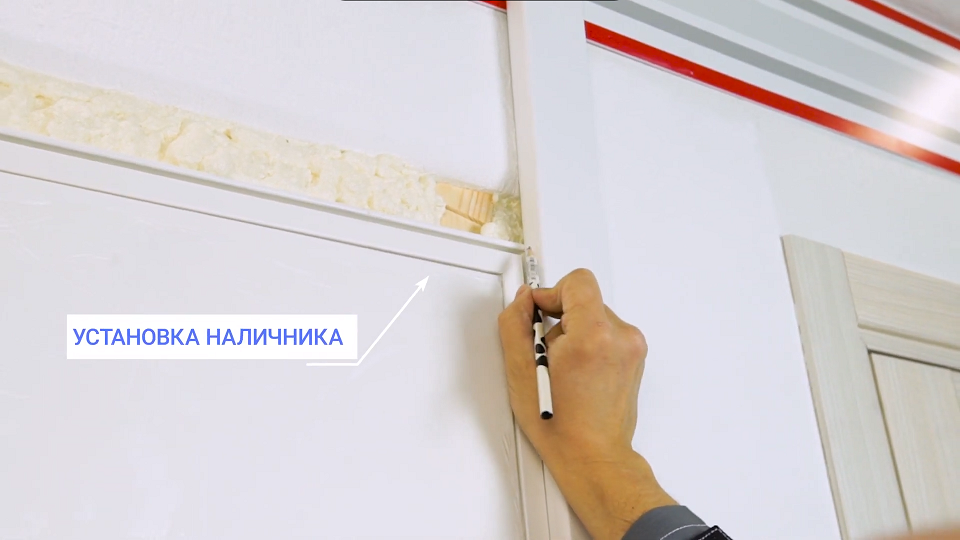
Measure the platband height on the hinges side.
Attach the vertical platband plate to the installation area behind the hinges and align it vertically with a builder's level (or along the frame). Check the platband not to interfere with the full opening of the door.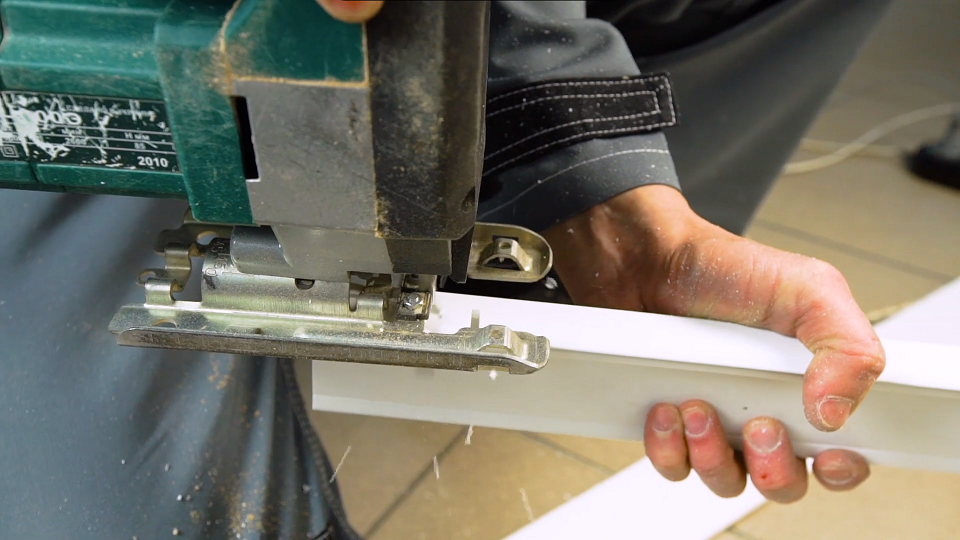
Mark the height. Saw off the plate top at 45 degrees using a miter box or a saw blade according to the marks.
Perform the same procedure with the second vertical plate.
Attach the platband using a special fastening gun-hammer by nails or glue sealant.


Saw off the plate edges at 45 degrees according to the marks.
Attach the horizontal plate.
Upon completion of the door installation, it is necessary to immediately remove the protective film from the door leaf.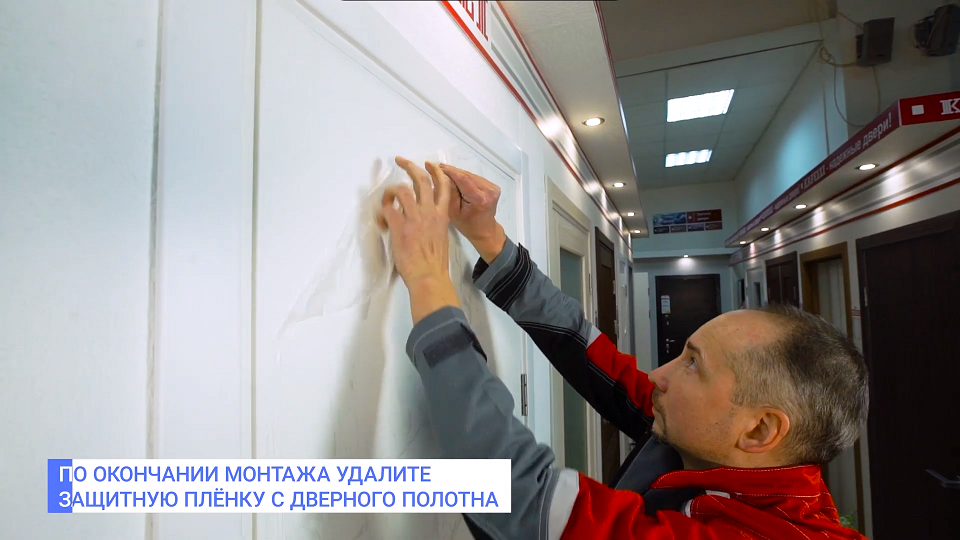
Possible remnants of the protective film glue are removed with a warm slightly alkaline solution (soap solution of household soap).
THE DOOR IS INSTALLED!